
Howto: Make Your 1st TikTok Filter
Use this tiktok template to develop your own augmented reality 3D Racer / Runner Game on Effect House

Template: https://filterxp.gumroad.com/l/ehracer
Let’s develop an AR game with TikTok's Effect House.
Effect House is a powerful AR tool that makes it easy to create, publish, and share high-quality augmented effects for TikTok.
Of course, we love fast cars, dirt bikes and our ATVs so why not make a car racing vaporwave game; perhaps you change the color and the model and the world.
Set the game for 10 seconds. Keep it simple, bro, it's more fun that way. You'll catch Elements by moving your head left or right. Play an animation if you miss it and if you catch it play another.
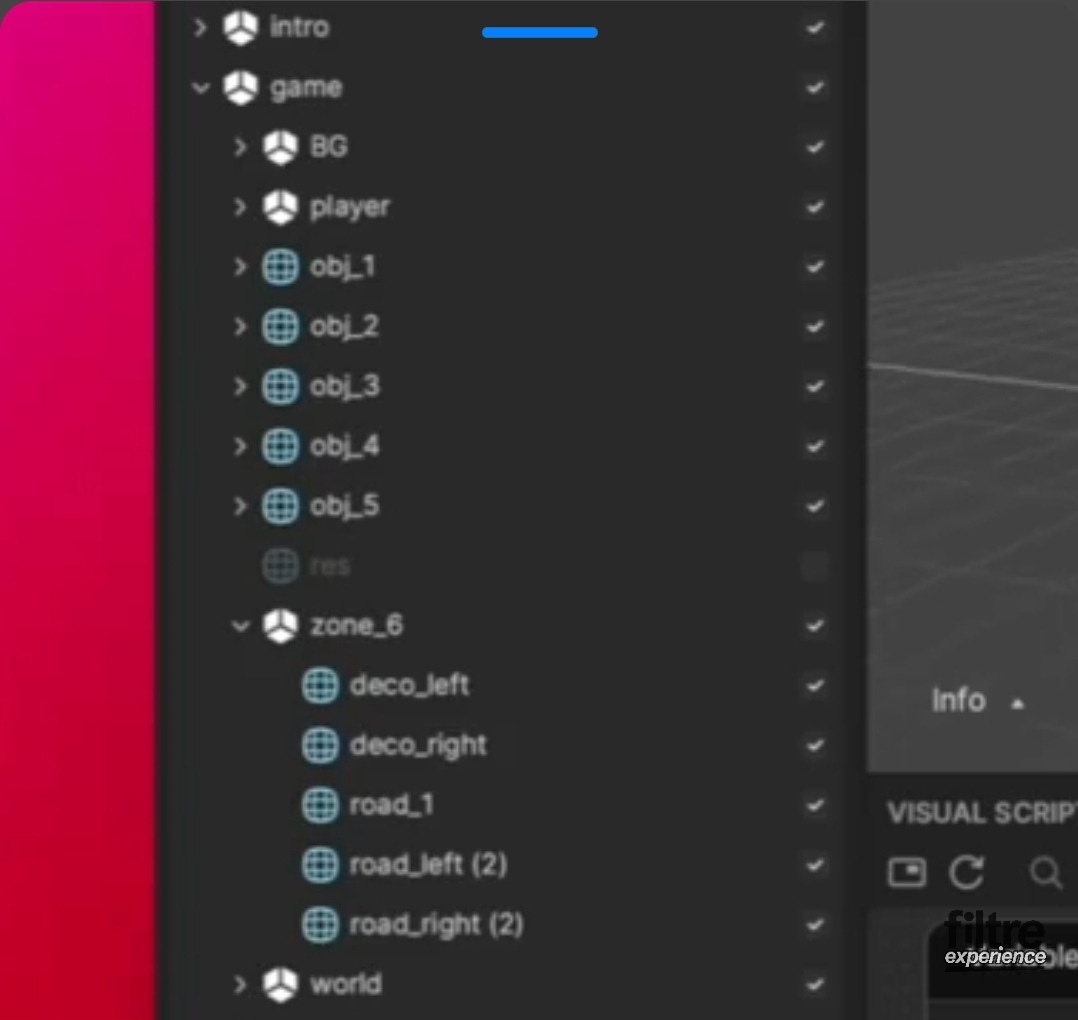
Then there's the outflow panel — first you have to prepare your assets (a mix of 3D elements and images): so for the images first you will have to replace the world (aka background), the sides of the road (sidelines) and your AR world's race track decoration (the main aesthetics).
Find the right material for your Assets.
Most likely, our project is organized in three sections. To include the Intro, the Game and the Outro.
Your intro is basically a beginning message with the instructions. This portion will Autostart anytime you launch your filter. Use this template to replace intro graphics, title of the game or instructions.
Then we have the game so the intro will fade and the game starts.
Afterwhich the outro will be displayed; a scene with the score.
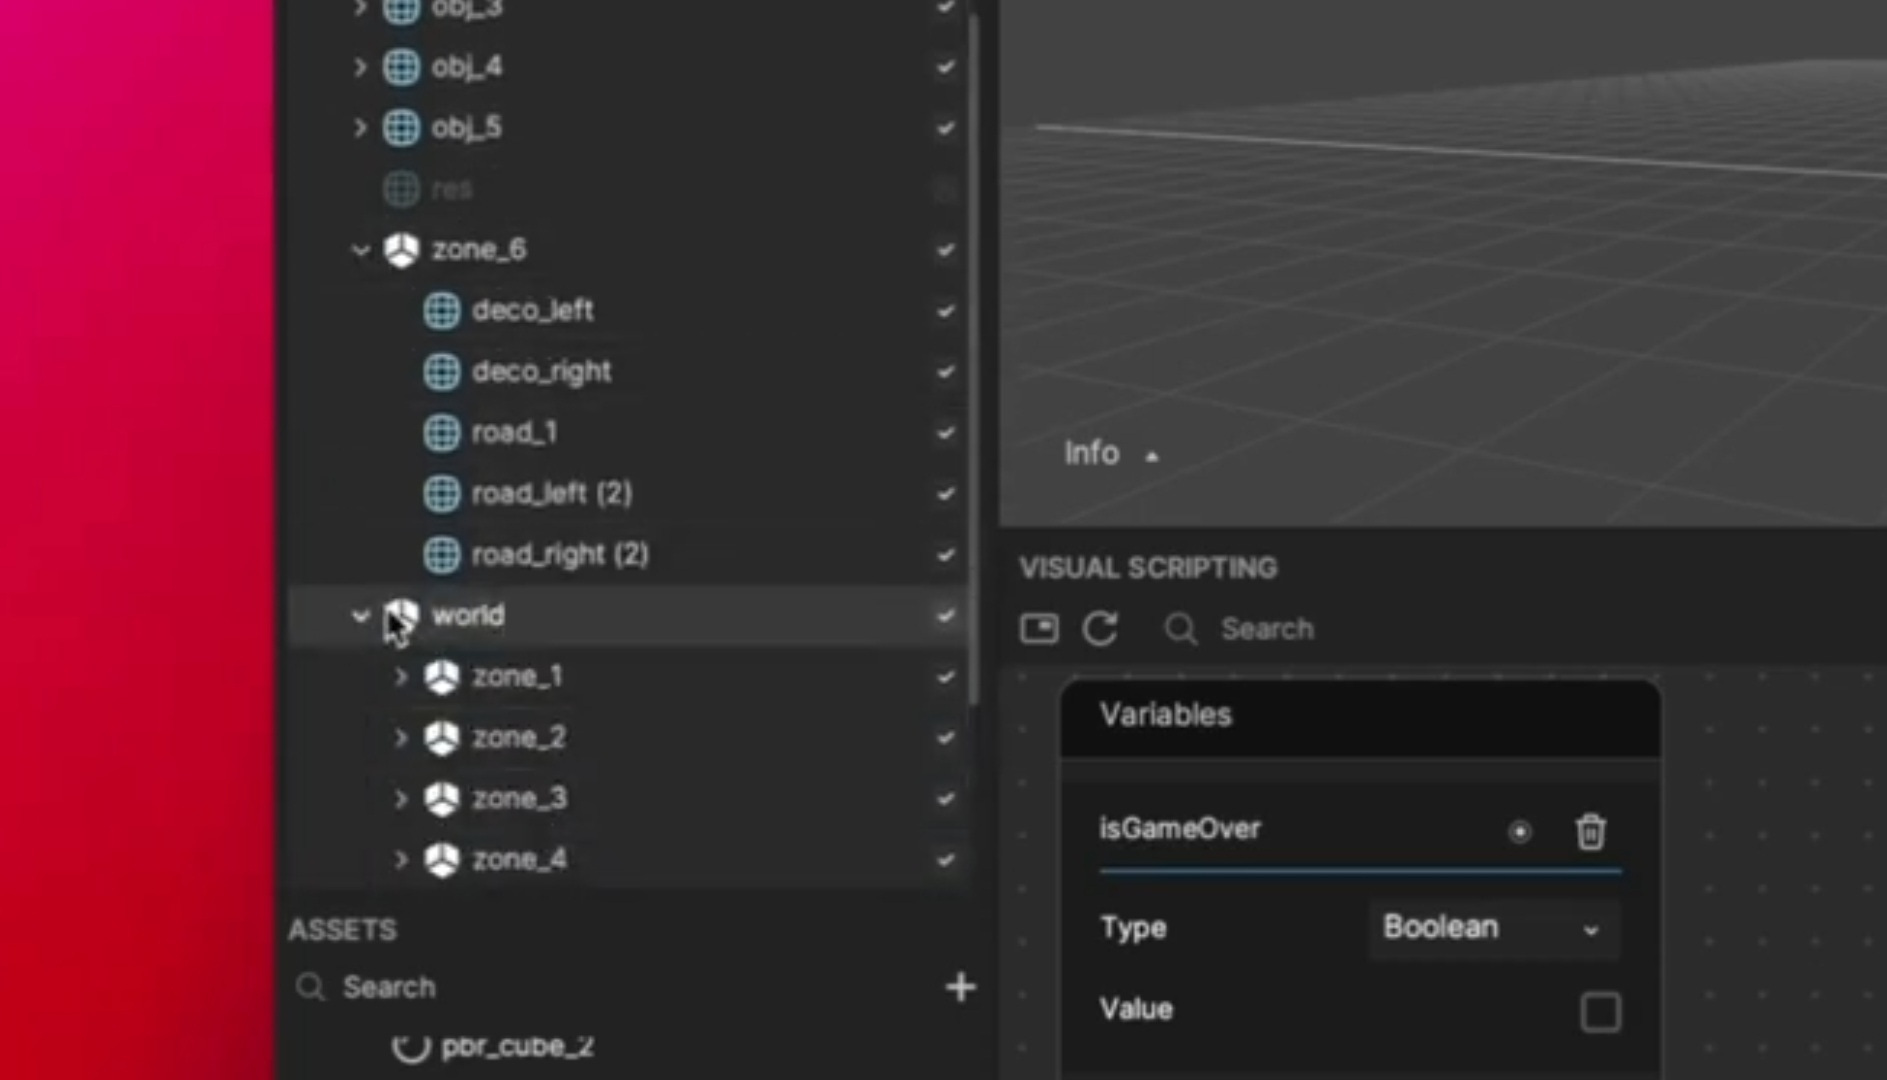
Find anything you'd like to replace in the Assets' sidebar navigator, for instance you can find and replace ‘world’ via the section labeled “Game”.
Within the Game section, you may find ‘Zone’.
Toggling its arrow tree reveals ‘Deco_left' and ‘Deco_right' (aka the game world's decorations: palm trees, etc) which you can change, with an image of your choice, in the Assets’ “Materials” section via the sidebar navigator. Simply drag & drop any new images into the Assets’ panel.
Select ‘deco_left’ or any material, populating for you the inspector sidebar viewer, to see its properties. There will be details on your selection including an option for 'Texture'. Use this dropdown texture menu to choose or import a new image from the Assets’ panel.
Perfect.
You're advised to use Square format images. They seem faster and easiest to use in Effect House so you don't have to rescale it but you can put some rectangle image if you prefer.
*Keep in mind
If you import your image, created a new material, but it doesn't have any transparency it's because in the material properties (via inspector sidebar viewer) under 'Render State' within the Blend Mode setting you must select ‘Alpha Test' or ‘Transparent’.
No worries — This template assigns the Blend Mode by default. Ensure new images do the same.
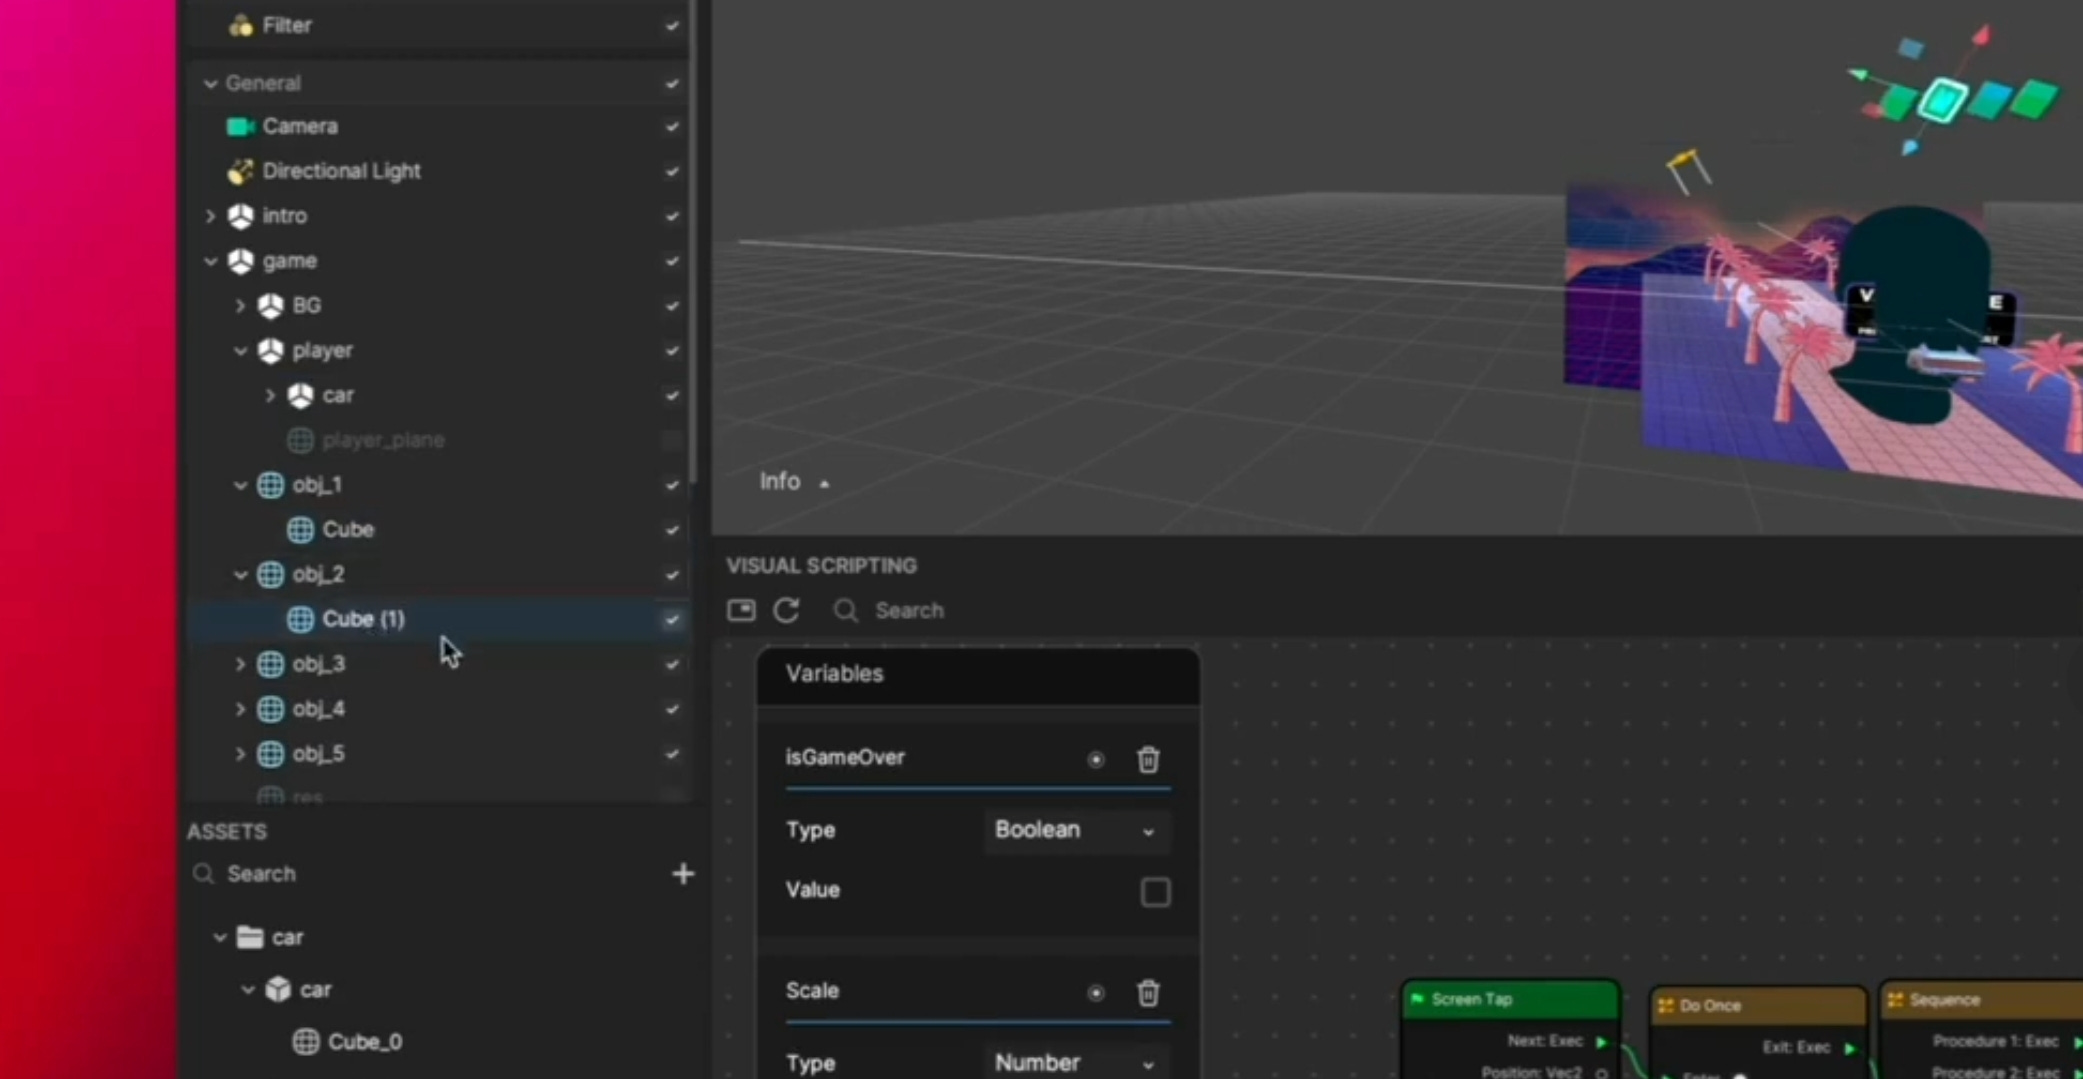
Dead center will usually be your Preview Scene viewer panel. Clicking any material, like, the road will populate the inspector viewer too. Under 'Mesh Renderer' you'll find Material demarcating the attached asset; ‘pbr_road’.
Drag and drop the image. Go back to Assets' Material sidebar navigator, select the road asset and change the ‘Texture’ option. Select your replacement image, use a square image format.
Wanna replace the car? Go to 'Player' underneath “Game”. You can find another player to replace the car on Sketchfab or even a bike, if its downloadable [and, low poly] you can use that.
If you cannot find something low ploy, you may always compress it on blender or equivalent software. Otherwise, it will go above the limits for Effect House. Once you have your player, drag and drop, and normally you will have it in ‘.glb’ format.
Once imported in the Preview Scene viewer, at the top, there are four editing icons. Let's use resize and rotate.
Click on your model, scale and adapt it — You could also move it up and down but it isnt advised with this template, unless using your own custom player. Run your tests and adapt as required.
Time for some Loot!
Let's add or replace the Objects that come up during your drive.
You can download anything for a drive and loot or create simple objects; keep it simple, not too complex because the game is already quite heavy.
Onto the ‘Chrono’ setting. This will dictate the duration of our game. Five seconds for super shorts, ten seconds for short effects. Consider your target audience on TikTok. The game stops when the timer is over. The default Chrono aka timer value is 20 seconds.
For some flare you can have the Cubes (or your custom objects) spin. Under “change Variable_Rotation”; tick the ‘value’ option. Now the oncoming obstacles will spin. Untick if you would like the Cubes to remain static.
Before publishing the AR game filter, don't forget to attach the video record & screen tab cables.
During development, connect the Screen Tab cable so you can see the Intro panel.
After development & before publishing, connect the Video Record. Effect House (desktop) will autoplay, it emits instructions that user is recording.